Welcome to Nception
Nception is revolutionizing architectural design by seamlessly integrating Revit projects into virtual reality (VR). With Nception, architects gain unparalleled access to their designs, enabling immersive exploration and real-time collaboration like never before. This innovative software bridges the gap between the digital and physical worlds, allowing architects to step into their creations and experience them from every angle.
Architects can effortlessly navigate through their Revit projects, inspecting details, testing spatial relationships, and identifying design flaws in a fully immersive VR environment. Nception enhances design communication by enabling clients and stakeholders to visualize projects at scale, fostering better decision-making and project understanding.
Moreover, Nception facilitates streamlined design iterations, as architects can make adjustments directly within the VR environment, instantly observing the impact on the overall design. By empowering architects with instant access to their Revit projects in VR, Nception significantly accelerates the design process, enhances collaboration, and ultimately leads to more innovative and successful architectural outcomes.

The Nception Software System
Nception comprises two key applications: an Exporter for Autodesk Revit and a Viewer for Windows-based PCs. The Exporter seamlessly integrates with Revit, allowing architects to effortlessly export their projects into the Nception format (VIM) for VR exploration. Meanwhile, the Viewer application offers a user-friendly interface on Windows PCs, enabling architects to immerse themselves in their designs, inspect details, and collaborate with stakeholders in virtual reality. Together, these applications revolutionize architectural design by providing instant access to Revit projects in VR, fostering better communication, accelerating the design process, and ultimately leading to more innovative architectural outcomes.
Installing the Nception Exporter
PLEASE NOTE: Autodesk Revit must be installed BEFORE installing the Nception Exporter
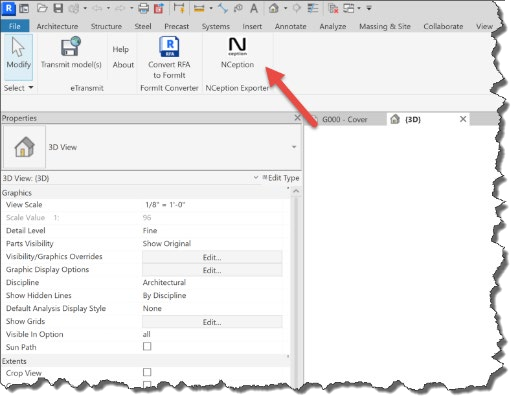
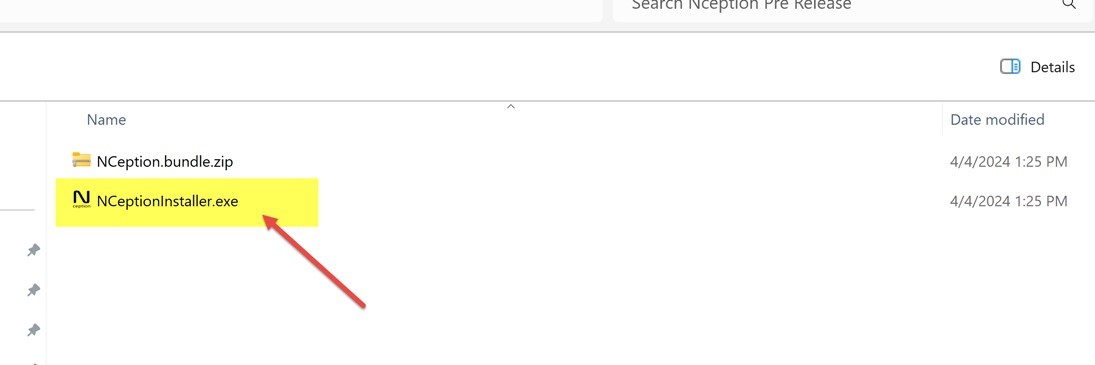
The Nception Exporter is a Revit Addin Application that converts your Revit project into a file format called VIM. This file contains all of the 3 dimensional geometry present in the current Revit view and embeds all of the type and instance data for the objects to allow the data to be reviewed in the Nception desktop viewer application. building object or building system in the Viewer and see its BIM Property Information including Product Manufacturer Information. The installation begins by selecting the Nception Installer exe file.
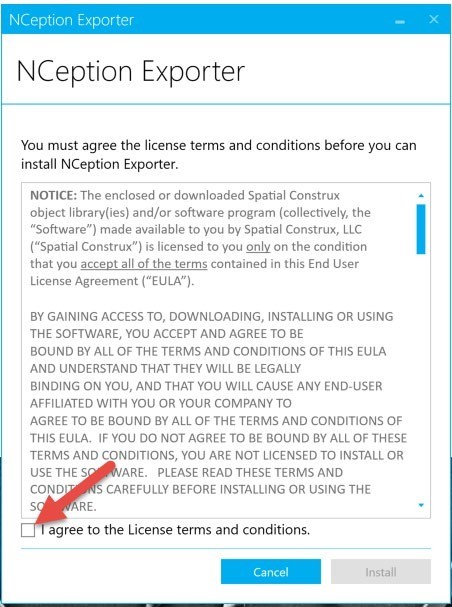
Step 1
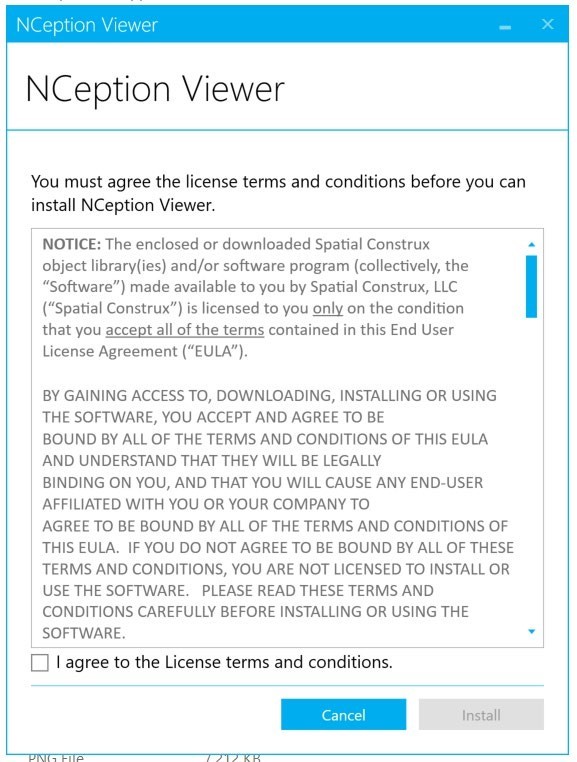
- Please take a moment to carefully read the EULA and, if you wish to continue the installation, click the acceptance box. The install button will become active. Click install to continue.
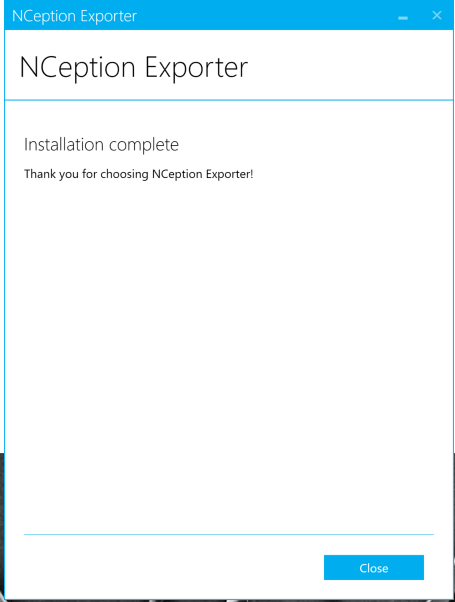
Step 2
- Click continue on the screen that follows and Nception will install on your system.
Installing the Nception Viewer
To install the Nception Viewer select the NCeption Viewer installation file and review the terms and conditions.
Click ok on the screen that follows to begin the installation process.
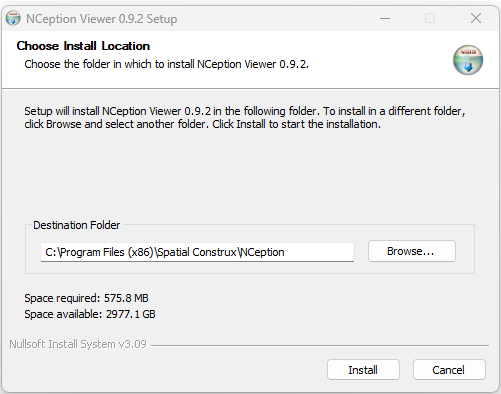
Confirm the installation location and select the Install button to continue.
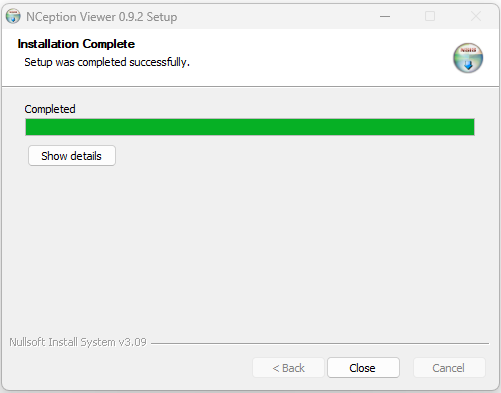
Once you see the installation complete screen select close to return to your computer screen. If the installation fails for any reason please hit the “show details” button and copy and paste the log file in an email to support@spatialconstrux.com.
You are now ready to start exploring your projects in Nception!
Exporting your first model
Exporting your first model using Nception is easier than printing the project file.
- Start Autodesk Revit (Version 2019-2024 are supported)
- You will see a command window when Revit recognizes the Nception Click the “always allow” option to continue.
- In Revit open your For demonstration purposes we will use the Snowden Architectural Sample project in Revit 2024.
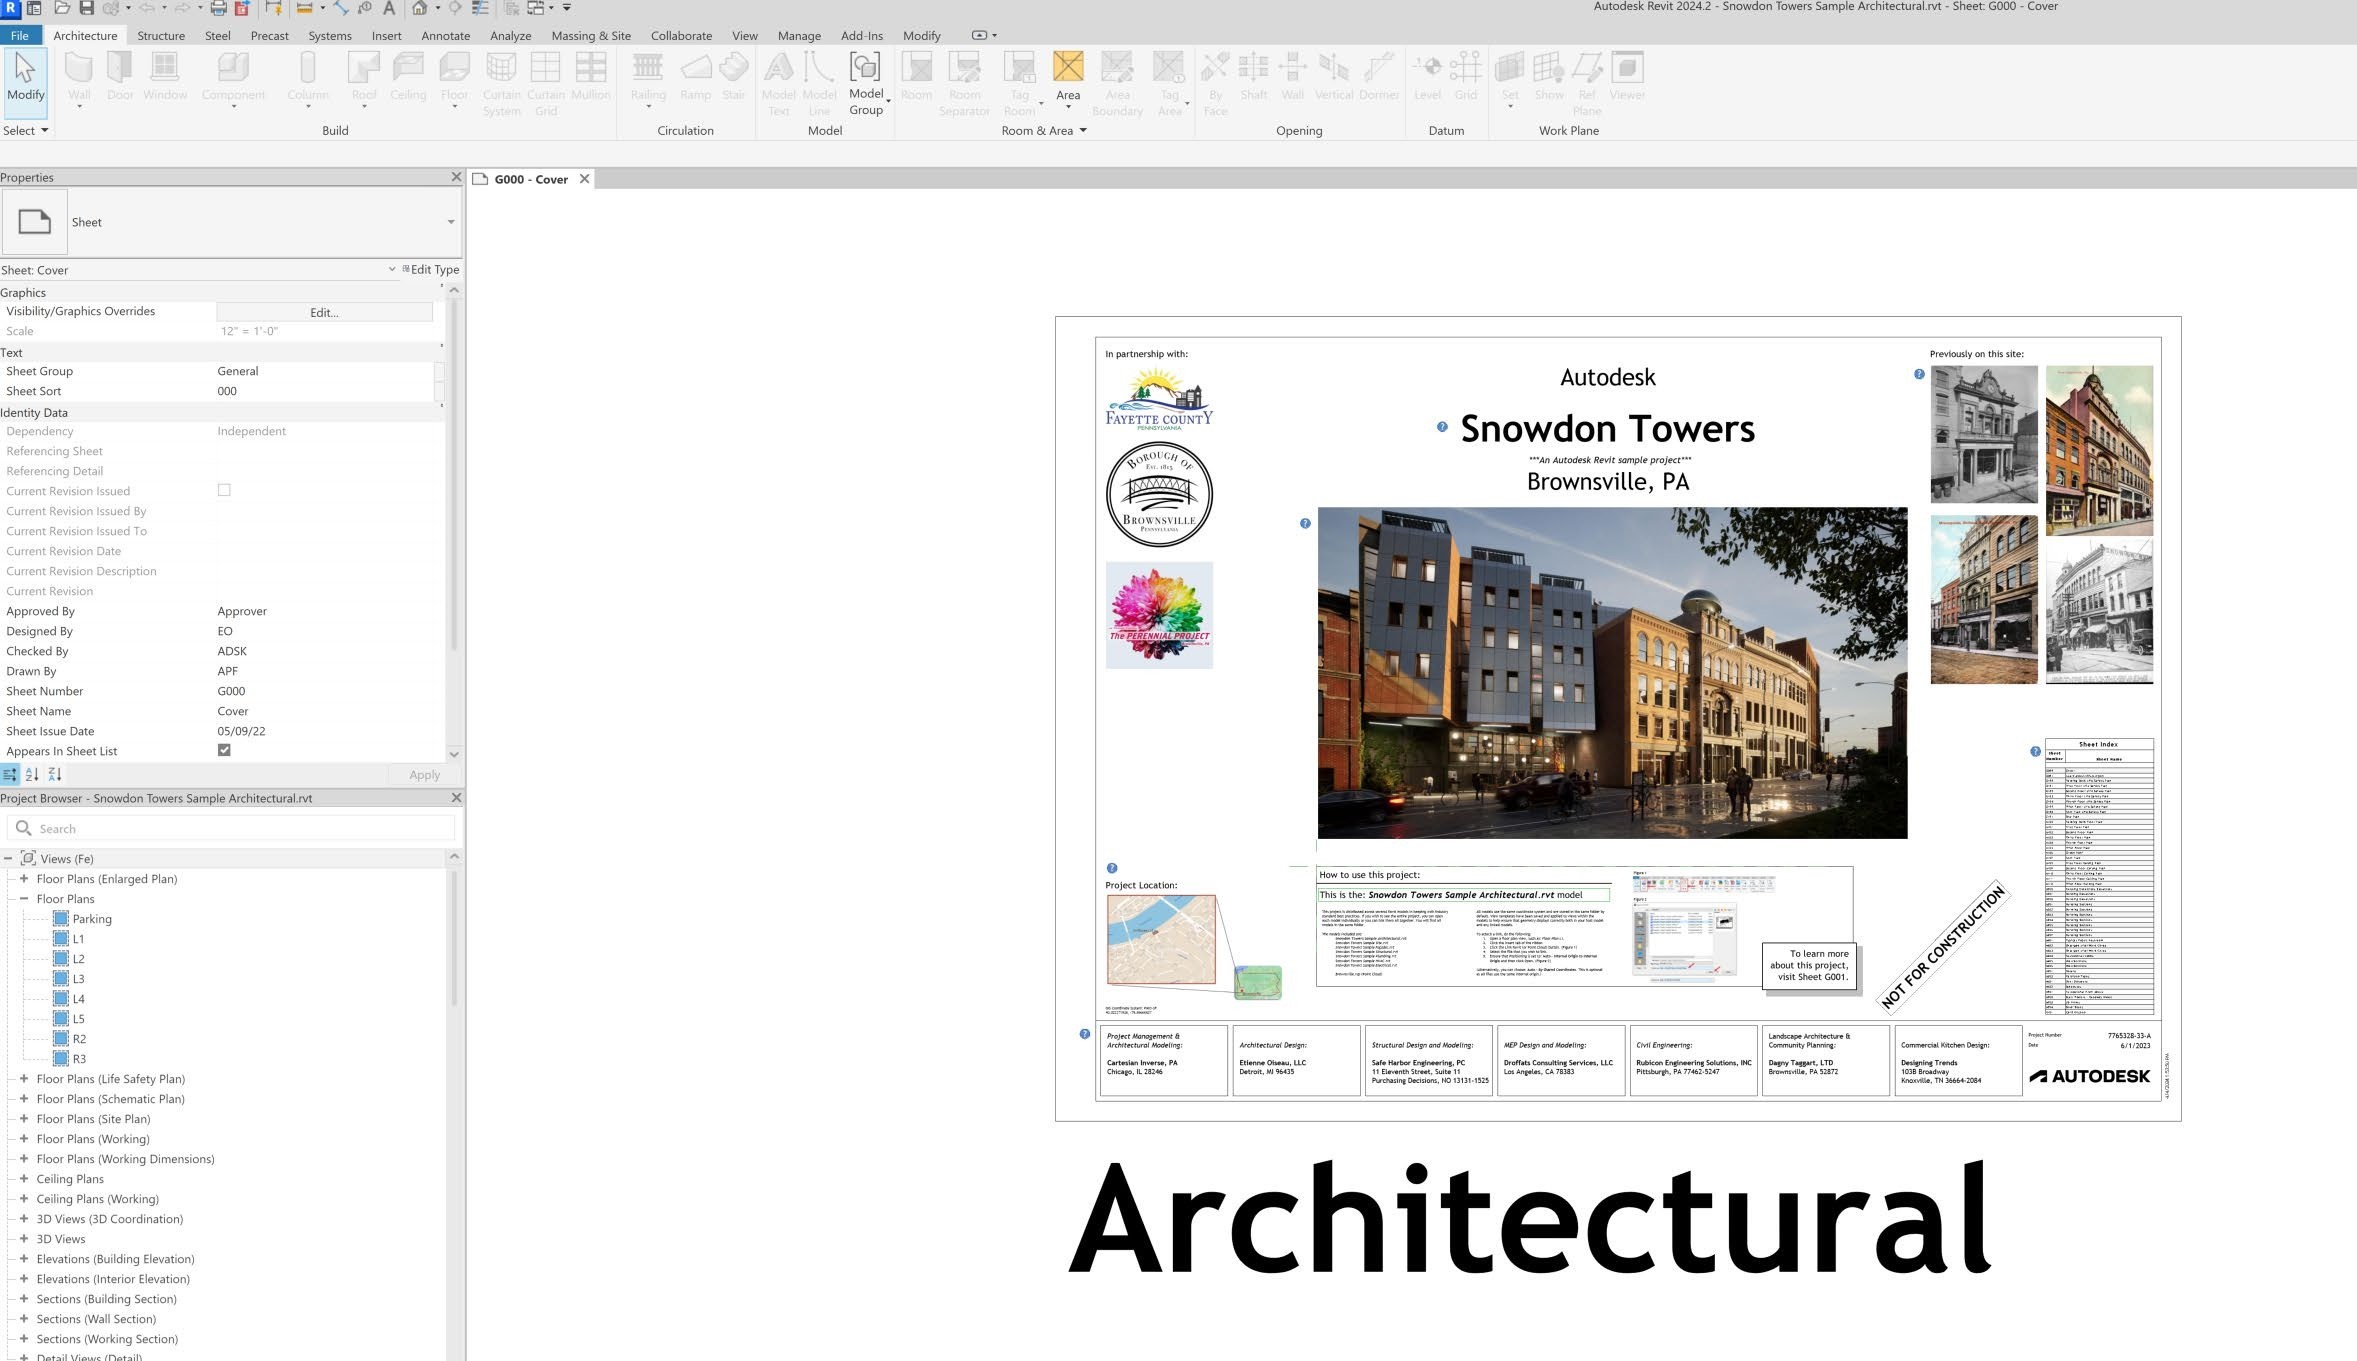
- Open the 3D view you would like to use for exporting
- Open the “Add Ins” tab on the Revit command Ribbon and select the Nception Exporter

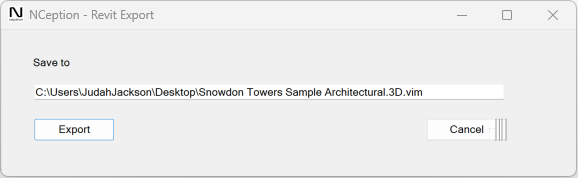
- Verify the desired name and location of the exported file and select the Export command to continue. The Nception exporter will always place the exported VIM file in the same folder as the Revit Project.
In minutes, Nception will process the 3D view into an interactive file format called a Virtual Information Model VIM.
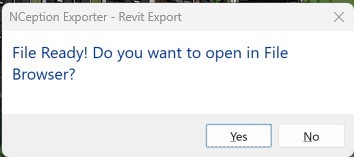
Once the file is exported, you are ready to explore the file with the Nception Viewer.
Things to Remember
- Nception uses the material and light settings in Revit to create the VR version of the project so there are no additional settings to manipulate.
- Nception uses the Room annotation tags to display location information and select levels and rooms in the viewer. If you would like information to appear in Nception, just place a room tag with the information on any floor plan in Revit, Nception will do the rest.
- Nception will adjust the shading and material settings based on the settings of the 3D view of the project to display the project correctly. if Phasing is active in Revit on the 3D view when it is exported. If you are using phasing, objects not in phase will render as gray rather than with their Revit assigned render material settings.
- You may find it beneficial to create a 3D view for use with Using the default 3D view in Revit can sometimes cause the model to render outside the initial range of the camera in the Nception Viewer.
Explore your model in the NCEPTION Model Viewer
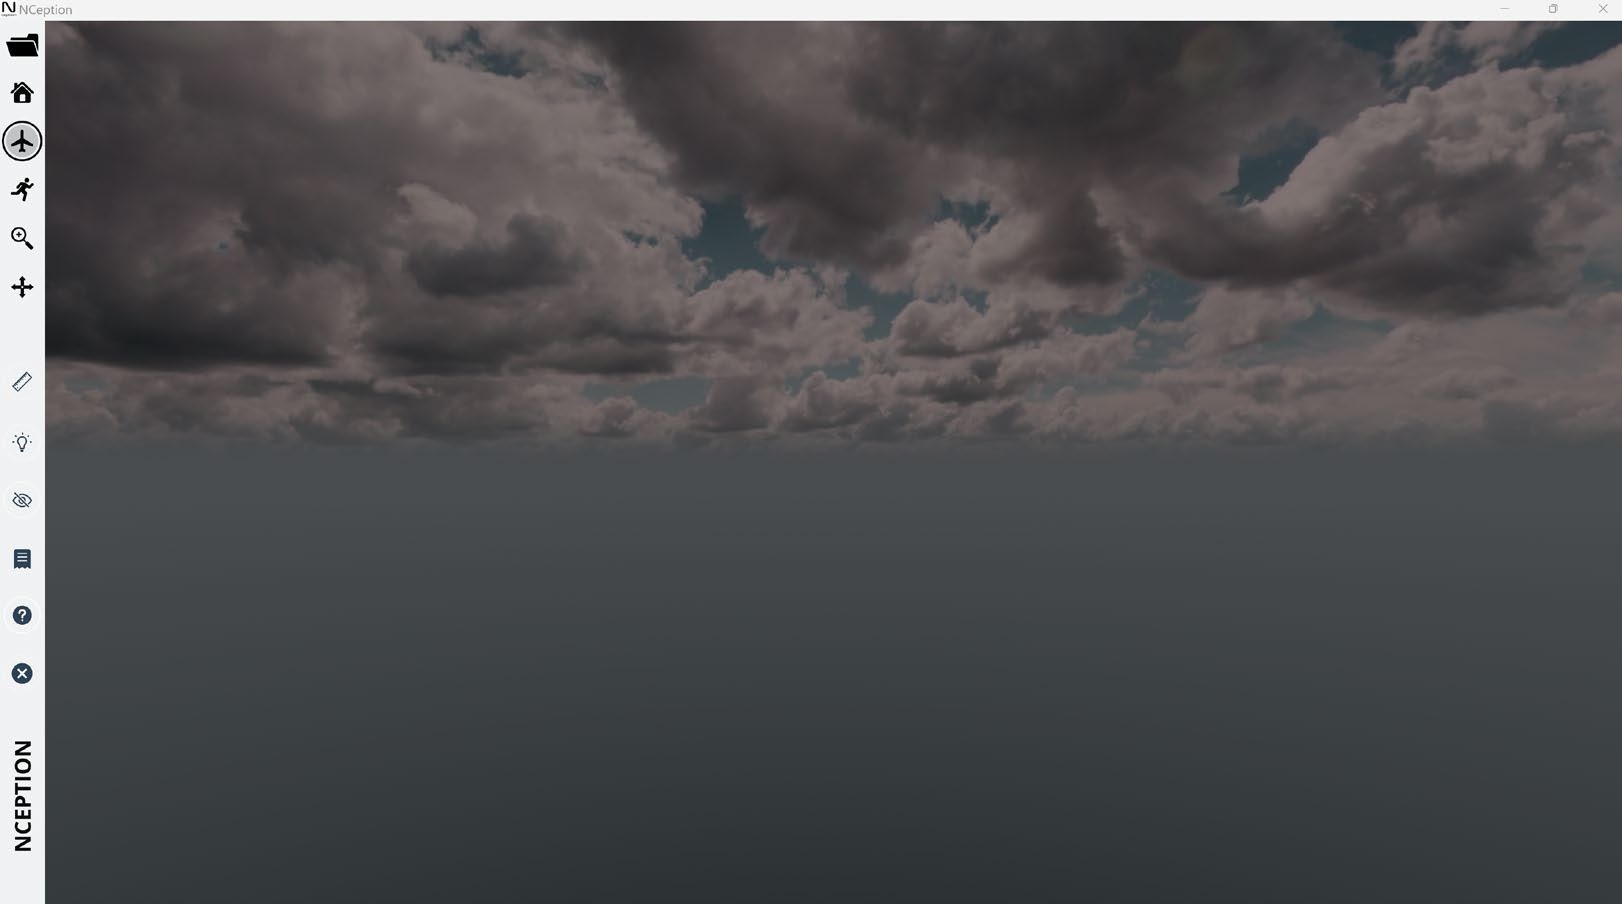
To open the Nception Model Viewer click the Nception Icon on your desktop.
Nception will open to the main viewer scene.
Operating Modes in NCEPTION Model Viewer
There are two operating modes in NCEPTION Model Viewer – Navigation Mode and Selection Mode. In the Navigation Mode you are free to roam the model scene by moving through it using basic gaming controls keyboard and mouse. In the Selection Mode you are free to select any building object or building system in the Viewer and see its BIM Property Information including Product Manufacturer Information.
You switch between Navigation and Selection modes by simply using the left mouse button. Press and hold the left mouse button to look around and change direction when you are moving. Release the left mouse button to enter object selection mode to see the data attached to the objects in the scene with a quick click of the left mouse button.
Navigating in NCEPTION Model Viewer
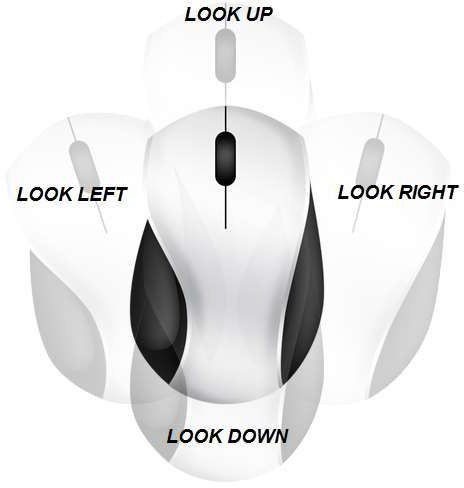
Viewing Direction – Mouse Input Control: The Mouse Input Control is used to control the direction you are looking in the scene. Press and hold the left mouse button to ‘activate’ the view control; move the mouse to control the direction you are looking in the building model.
Moving Direction - Keyboard Input Control
Several Keyboard Keys control the motion or movement through the VIM building model. The direction of movement is always relative to the direction you are looking in the building model scene – (which is controlled by the mouse). You do have the option of using several keyboard keys to change the direction you are looking but using the mouse is more intuitive.
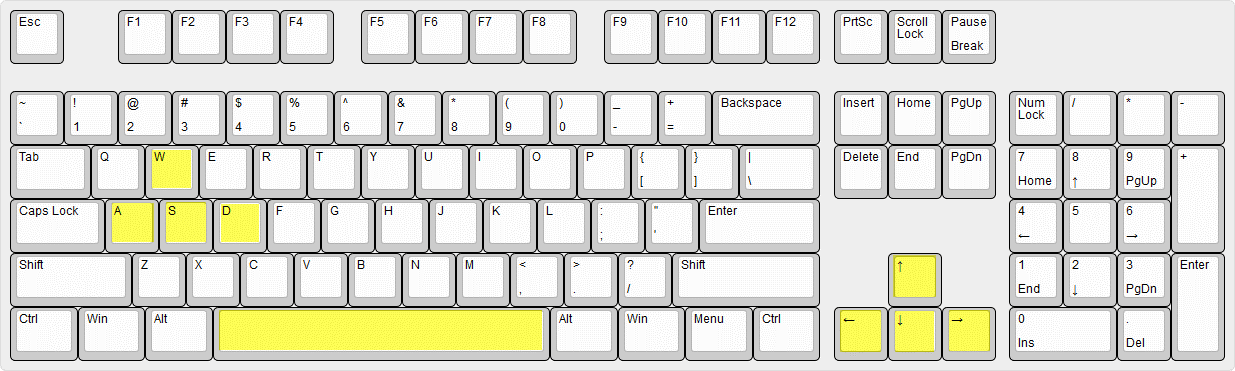
Keyboard Keys for Controlling Movement
Arrow Keys (if so equipped) = The Direction keys on the keyboard can be used instead of the W-A-S-D keys. The control of the direction of movement corresponds to each keys’ direction arrow.
Forward = W: depressing and holding the -W- key while navigating in NCEPTION Model Viewer moves you forward relative to the direction you are looking
Backwards = S: depressing and holding the -S- key while navigating in NCEPTION Model Viewer moves you backwards relative to the direction you are looking
Left = A: depressing and holding the -A- key while navigating in NCEPTION Model Viewer moves you left relative to the direction you are looking
Right = D: depressing and holding the -D- key while navigating in NCEPTION Model Viewer moves you right relative to the direction you are looking
Jump = SPACE BAR: pressing the -SPACEBAR- key while navigating in Walk Mode in the NCEPTION Model Viewer allows you jump to clear a ground obstruction.
Speed Control – Use the mouse wheel to increase or decrease speed as needed. Roll the wheel up to increase speed and down to decrease speed while in Navigation mode.
These movement or motion keys can be used in combination, so you can easily move in oblique directions relative to the direction you are looking. For example, depressing and holding -W- and -D- keys at the same time will have you moving to the right at a 45-degree angle to the direction you are looking. Remember, you can also change the direction you are looking as you ‘move’ through the building model scene.
SPATIAL CONSTRUX NCEPTION Model Viewer has 2 operating modes: Navigation Mode and Selection Mode. In the Navigation Mode you can move freely throughout your VIM building model scene. In the Selection Mode you can select commands from the toolbar or any Building Object and review its BIM information.
Nception Model Viewer
The NCEPTION Viewer screen has 5 primary elements: The Command Toolbar, The BIM information panel, the HUD Room Information Panel, the Building Directory which features Level and Room information..
Command Toolbar –access to all commands for navigation and visibility options within the viewer.
BIM Information Panel – displays type and instance data associated with the selected object.
HUD Room Information Panel – displays room information as you move from room to room.
Building Directory Levels – allows user to select a building level (floor) to display its room list.
Building Directory Rooms – allows user to select and instantly go to a specific room

Nception Model Viewer Toolbar
NCEPTION Model Viewer provides the user a powerful toolset while maintaining focus on ease of use.
OPEN FILE – Click here to select VIM file to open
HOME VIEW RESET – Click here to reset view to starting view or to select a new starting camera position.
FLIGHT – Click here to change navigation mode to flight
WALK – Click here to change navigation mode to walk. User will click to select start point on model.
ZOOM WINDOW – Click here to activate the Zoom tool
PAN – Click here to activate the pan view tool
MEASURE – Click here to activate the measure tool
LIGHTING CONTROL – Click here to model light intensity for Revit light objects in the scene. Use mouse wheel button if available.
HIDE OBJECT – Click here to activate the HIDE tool
SHOW/HIDE BUILDING DIRECTORY – Click here to show or hide the level and room directory navigation feature.
HELP – Click here to visit the Nception help page.
EXIT NCEPTION – Click here to end program.
NOTE: You must be in the Selection Mode to pick on the Toolbar tools.
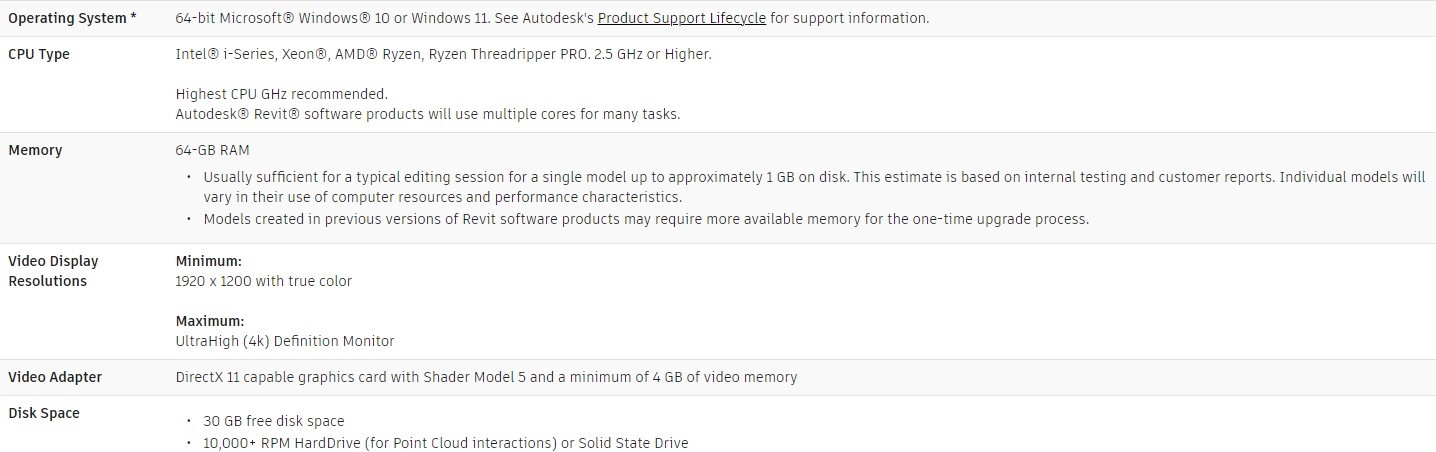
NCEPTION Model Viewer Recommended System Requirements
For the best user experience, we recommend the following minimum system requirements:
A gaming pc or laptop with the following features:
Need Assistance?
Please contact the technical support team at Spatial Construx via email at support@spatialconstrux.com